
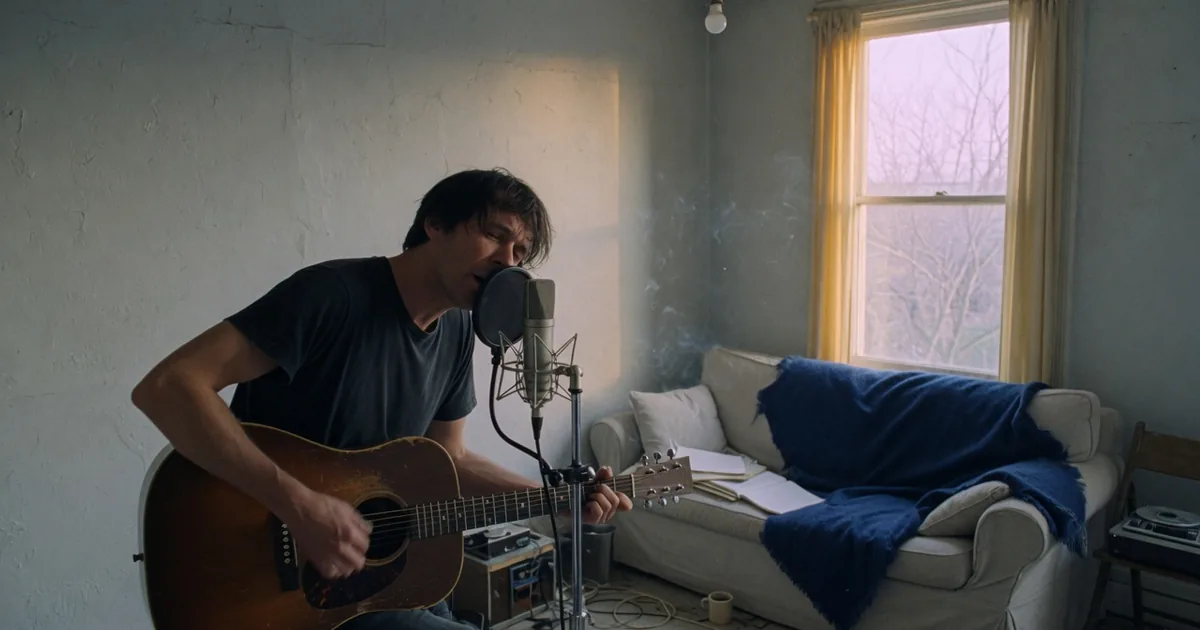
A demo has one job: communicate your songs clearly enough that a booker, a label, a potential bandmate, or a sync agent can hear what you actually sound like. It does not need to compete with a studio album, and treating it like one is how bands burn months and money. You can record a demo at home that does its job with a few hundred dollars of gear, a quiet room, and some discipline about what matters. Here is the minimum setup and the process that gets you there.
The Minimum Viable Gear List
Forget the endless gear forums. A functional home demo rig is four things:
- An audio interface. A basic two-input USB interface converts your microphones and instruments into a clean digital signal. Entry-level models from Focusrite, PreSonus, and similar brands typically run in the $100 to $200 range and are more than adequate for demos.
- One decent microphone. A single large-diaphragm condenser or a workhorse dynamic mic (the kind commonly used on stage vocals) covers vocals, acoustic guitar, and amps. A solid dynamic mic often costs around $100 and tolerates untreated rooms better than sensitive condensers.
- Closed-back headphones. These let you track without the backing audio bleeding into the mic. Studio-style closed headphones in the $50 to $100 range work fine.
- A free DAW. You do not need to buy software. GarageBand comes free on Mac, and Cakewalk, Waveform Free, and the free tier of other major DAWs handle multitrack recording on Windows. Audacity works for simple live-to-stereo recordings.
If your band rehearses with amps and drums, add your phone or a portable stereo recorder for full-band run-throughs. A well-placed room recording of a tight rehearsal is a legitimate demo format.
Treat the Room Before You Buy Anything Else
The room affects your recordings more than the difference between a $100 mic and a $400 mic. Before upgrading gear, fix the space:
- Pick the smallest, softest room. Closets full of clothes and rooms with carpets, couches, and bookshelves absorb reflections. Bare kitchens and bathrooms are the enemy.
- Hang heavy blankets behind and beside the vocalist. Moving blankets and comforters knock down the boxy echo that screams "home recording."
- Record vocals facing into the soft stuff, not toward a bare wall or window.
- Kill noise at the source. Turn off fans and air conditioning during takes, close the door, and record at quiet hours. Noise is nearly impossible to remove cleanly afterward.
Total cost: usually zero, since you already own blankets.
Record for Clarity, Not Perfection
Structure your sessions around what a demo must accomplish:
- Get the song across. Tune your instruments, play to a click or a steady scratch track, and prioritize a take where the feel is right over one where every note is flawless.
- Keep levels conservative. Aim for peaks well below the red. A quiet, clean recording can be turned up later; a clipped one is ruined forever.
- Layer simply. Rhythm foundation first (drums or a beat, then bass and rhythm guitar), then the lead vocal, then only the overdubs the song genuinely needs. Demos die from clutter more often than from thin sounds.
- Use stock plugins lightly. The EQ, compression, and reverb built into your DAW are sufficient. Cut muddy low frequencies, add gentle compression to vocals, use short reverb sparingly, and stop.
Mix on your headphones, then check the result on your phone speaker and in a car. If the vocal is intelligible and the song's energy survives on a phone speaker, the mix works for demo purposes.
Know When the Demo Is Done
A demo is good enough when a stranger can understand the song, hear that you can play, and grasp your style. That is the whole bar. Signs you have crossed it: the vocal sits clearly above the instruments, the timing holds together, and nothing distracts from the song itself. Signs you are overworking it: you are comparing it to commercial releases, you are on your fifteenth mix revision, or the band has stopped listening to the song and started arguing about snare tone.
Ship it. A finished demo can go on your band press kit, straight to venue bookers (our guide on booking more gigs explains what they look for), or onto your public profiles. Listing in directories like the New York band directory and the Chicago bands directory, plus creating a Bandmate profile, gives that demo somewhere to be found.
Getting Started This Week
- Inventory what you already own; many bands discover they only need an interface.
- Buy or borrow the interface, one mic, and closed-back headphones, and install a free DAW.
- Blanket-treat your quietest room and record one song start to finish in a single session.
- Check the mix on a phone speaker and a car stereo, make one revision pass, and call it done.
The Bottom Line
A home demo is a working document, not a monument. Minimal gear, a soft quiet room, conservative levels, and the discipline to stop when the song is clear will get you a recording that opens doors, for a fraction of what a single studio day costs.